
Introduction
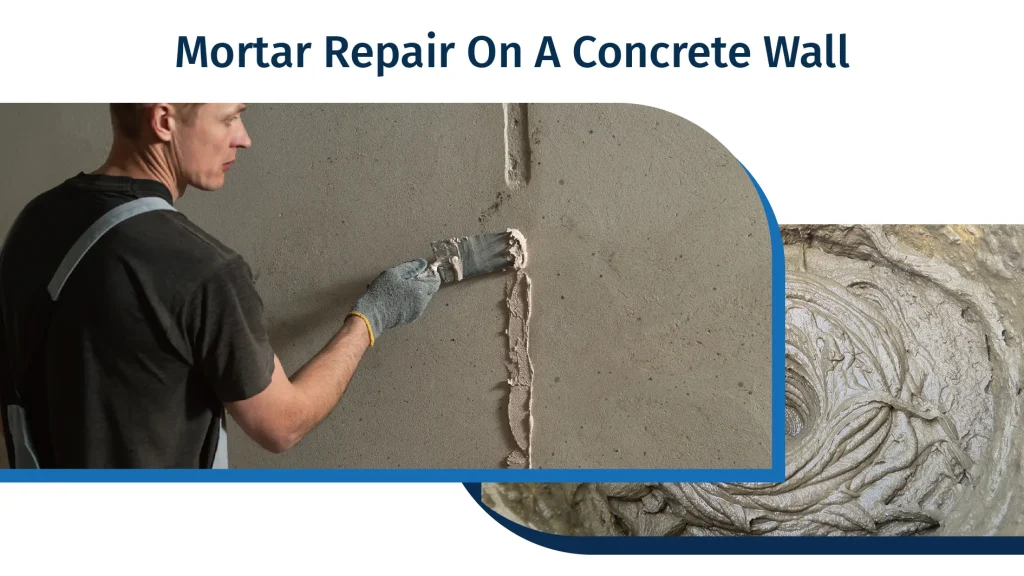
A successful mortar repair needs more than filling a hole with fresh cement mortar. The worker must remove weak material, clean the substrate, control moisture, prepare the correct mix, compact each layer, and protect the repair during curing.
Poor mortar repair can crack, become hollow, lose adhesion, or separate from the original surface. These failures often come from incomplete cleaning, standing water, excessive repair thickness, poor compaction, or rapid drying.
A reliable mortar repair method includes five essential controls:
| Control Point | Main Purpose |
|---|---|
| Damage assessment | Confirms whether a mortar patch is suitable |
| Substrate preparation | Creates a clean and stable bonding surface |
| Mortar selection | Matches the repair location and performance target |
| Layered application | Reduces voids, sagging, and shrinkage |
| Curing and inspection | Supports strength development and confirms quality |
This guide explains the complete construction method for wall, floor, concrete, masonry, and general cement mortar repair.
When Is Mortar Repair Suitable?
Mortar repair is suitable for local surface damage, shallow holes, small cracks, worn edges, loose plaster, and non-structural defects.
The repair team should first identify why the damage occurred. A new patch may fail again if the original cause remains.
Common causes include:
- Impact damage
- Poor original compaction
- Rapid drying
- Water penetration
- Freeze-thaw movement
- Weak substrate
- Excessive shrinkage
- Incorrect mortar ratio
- Corroded reinforcement
- Structural movement
A standard mortar patch is not enough for active structural cracks, severe concrete delamination, corroded reinforcement, moving joints, or continuous water leakage. These conditions require a more complete investigation and repair design.
Materials Required For Mortar Repair
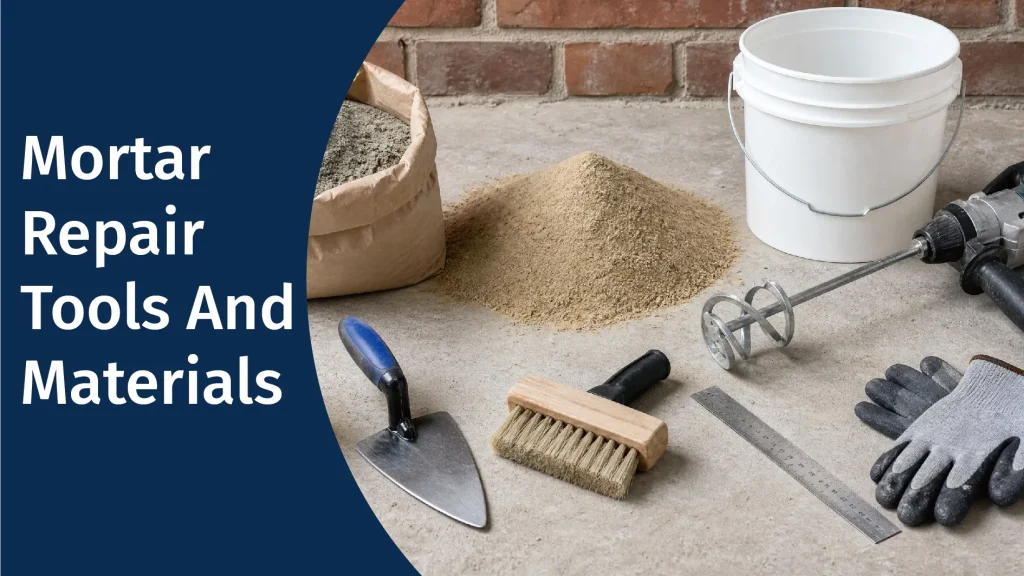
The required materials depend on the substrate, repair depth, exposure, and strength target.
Cement
Ordinary Portland cement is commonly used for general mortar repair. The cement type should match the original material and the required setting time, strength, and durability.
Rapid-hardening cement may be useful for short shutdown periods. Low-shrinkage or polymer-modified cement may be more suitable for demanding repairs.
Clean Medium Sand
The sand should be clean and free from clay, dust, organic matter, and oversized particles. A medium sand particle size of about 0.35-0.50 mm is suitable for many general repairs.
The repair team should screen the sand before mixing. Poor sand grading increases water demand and can cause weak or rough mortar.
Clean Water
The water should be clean and suitable for cement mixing. Excessive water can reduce strength, increase shrinkage, and make vertical repair mortar sag.
Polymer And Cellulose Ether Additives
Modern repair mortar may contain redispersible polymer powder, HPMC, HEMC, fibers, shrinkage control additives, defoamers, and setting regulators.
Cellulose ether improves water retention, workability, open time, and fresh stability. It can also help repair mortar stay on vertical walls and edges.
Tools
The repair team should prepare:
- Trowels
- Brushes
- Wire brushes
- Chisels or suitable removal tools
- Mixing buckets
- Mechanical mixer
- Straightedge
- Measuring tools
- Cleaning equipment
- Plastic film or wet curing fabric
- Personal protective equipment
The team should inspect electrical mixers before work. The motor, cable, grounding, and mixing blade must remain in safe working condition.
Step 1: Inspect The Damaged Area
The repair team should mark the complete damaged area before removing material. The visible defect may be smaller than the weak area below the surface.
The worker should tap around the damage and listen for hollow sounds. A hollow or sharp sound may indicate debonded mortar. A dense, dull sound usually indicates a solid substrate.
The team should also check for moisture, active cracking, oil contamination, reinforcement corrosion, and movement at joints.
The repair boundary should extend to solid material. A patch bonded to weak edges will not remain stable.
Step 2: Remove Loose Mortar
The worker should remove all loose, cracked, hollow, and poorly bonded material. The worker should continue until the remaining substrate is strong and stable.
Weak feather edges should be avoided. The repair boundary should have enough depth to hold the new mortar.
The worker may roughen a concrete or masonry substrate to a depth of about 5-10 mm when the repair condition allows it. A rough surface provides better mechanical bonding than a smooth surface.
The worker must avoid damaging sound concrete or cutting reinforcement during removal.
Step 3: Clean The Substrate
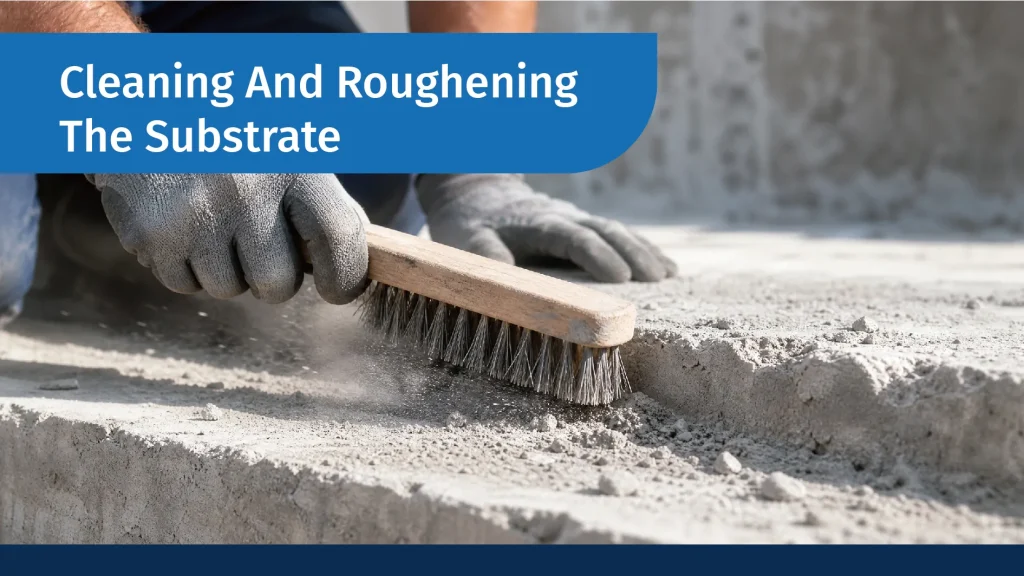
The worker should remove dust, oil, paint, curing compounds, laitance, loose particles, and cleaning residue.
A wire brush can remove dust and weak surface material. A suitable cleaner may be required for oil contamination. The worker should rinse the surface after cleaning agents are used.
The worker should pay special attention to corners, deep cavities, and narrow cracks. Dust left inside these areas can create a weak separation layer.
Compressed air can help remove dry particles, but the equipment must not introduce oil into the repair area.
Step 4: Pre-Wet The Repair Surface
The worker should rinse the repair area with clean water and allow the substrate to absorb moisture.
The substrate should be damp but free from standing water when the mortar is applied. This condition is often called saturated surface dry.
A dry substrate can pull water out of fresh mortar too quickly. This reduces cement hydration and weakens the bond. Standing water can also reduce adhesion and create hollow areas.
Floor repairs require special attention because water can remain at the bottom of the cavity.
Step 5: Prepare The Repair Mortar
The repair team should follow the specified mix design. A cement-to-sand ratio of 1:3 can be used as a starting point for some wall surface repairs, but it is not suitable for every project.
Structural repair, wet-area repair, exterior repair, and deep repair may need a factory-produced polymer-modified mortar.
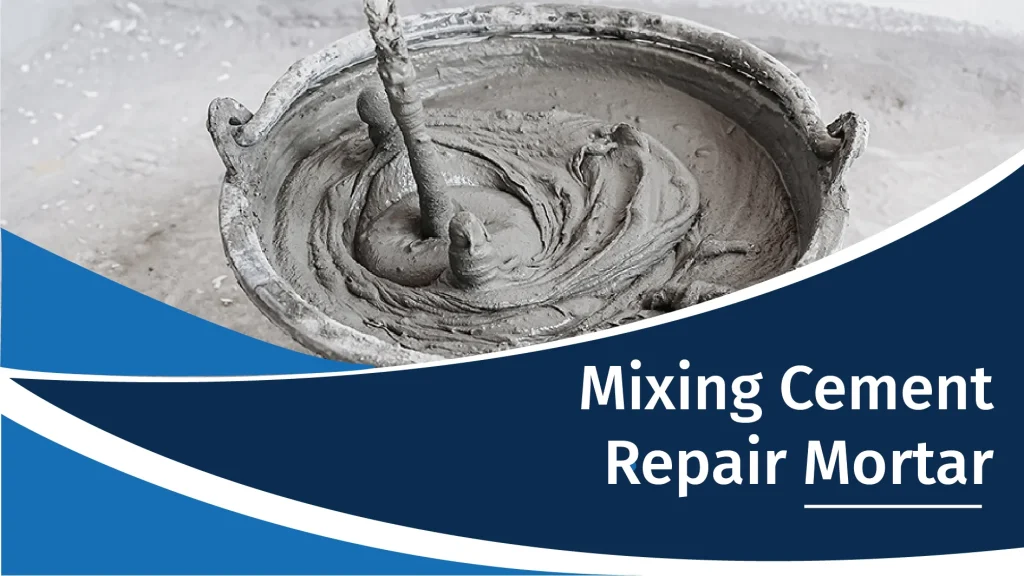
The worker should first dry-mix cement, sand, filler, cellulose ether, polymer powder, and other additives until the powder is uniform. The worker should then add the specified water slowly while mixing.
Mechanical mixing gives better consistency than hand mixing. The worker should mix until the mortar is smooth and free from dry pockets or lumps.
The mortar should hold together without becoming runny. A very wet mortar can sag and shrink. A very dry mortar is difficult to compact and may not bond well.
The worker should never restore stiff mortar by adding uncontrolled water after it has started to set.
Why Cellulose Ether Matters In Repair Mortar
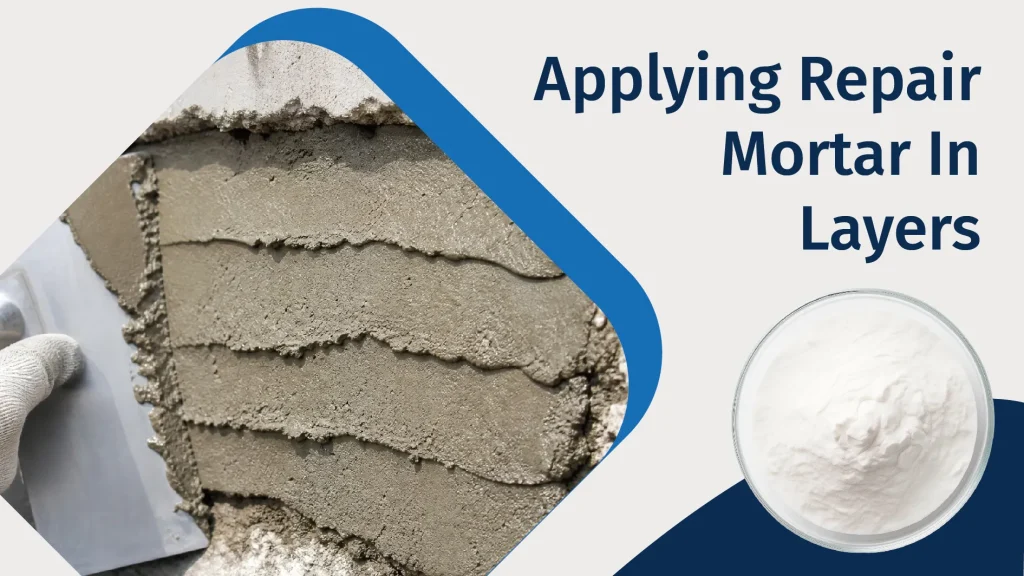
Repair mortar is often applied in thin layers, on absorbent substrates, or on vertical surfaces. These conditions create a high risk of water loss and sagging.
HPMC and HEMC can improve:
- Water retention for stable cement hydration
- Workability for easier spreading
- Open time for shaping and finishing
- Consistency during mixing and application
- Vertical hold on walls and edges
- Wet adhesion and fresh stability
- Resistance to segregation
Zhiwei’s current repair mortar application guidance positions HEMC as a cellulose ether for water retention, workability, open time, vertical hold, and stable handling.
The final performance still depends on cement type, sand grading, polymer level, filler, temperature, water dosage, and mixing order.
Step 6: Apply Mortar From The Edges
The worker should press the repair mortar firmly against the prepared substrate. The worker should begin at the repair edges and move toward the center.
This method helps the new mortar make close contact with the repair boundary. It also reduces trapped air.
The worker should use a brush or small tool to force mortar into narrow cracks and corners. The worker should not simply cover the opening while leaving an empty space below the surface.
Some repair systems require a bonding slurry or primer. The worker should follow the product instructions because the correct application condition varies between wet-on-wet and cured bonding layers.
Step 7: Build The Repair In Layers
The worker should not apply an excessively thick layer in one operation.
A layer thickness of about 5-10 mm is suitable for many conventional mortar repairs. The correct maximum thickness depends on the repair product, aggregate size, wall orientation, and manufacturer’s instructions.
The worker should compact every layer before adding the next layer. Compaction removes trapped air and improves contact with the substrate.
A deep repair may require several layers. The worker should follow the specified waiting time between layers. The surface of a lower layer may need to remain rough to improve interlayer bonding.
Factory-produced high-build repair mortar may permit thicker application. The team should not assume that a conventional 1:3 cement-sand mortar has the same high-build capacity.
Step 8: Level The Surface
The worker should use a trowel and straightedge to bring the repair level with the surrounding surface.
The worker should apply even pressure. Excessive finishing can bring water and fine cement paste to the surface. This can create a weak surface layer.
For many general floor and wall repairs, a flatness deviation not greater than about 3 mm may be used as a practical workmanship target. The project specification should determine the final tolerance.
The worker should check the surface before the mortar becomes too hard to adjust.
Step 9: Compact And Finish
The worker should press and finish the repair surface in one controlled direction. Proper compaction improves density and surface durability.
The required finish should match the surrounding area. A smooth interior wall needs a different finish from a rough exterior render or a floor that will receive another coating.
The worker should avoid repeatedly adding water to the trowel. Excess surface water can cause color variation, dusting, shrinkage, and low surface strength.
Step 10: Cure The Repair Mortar
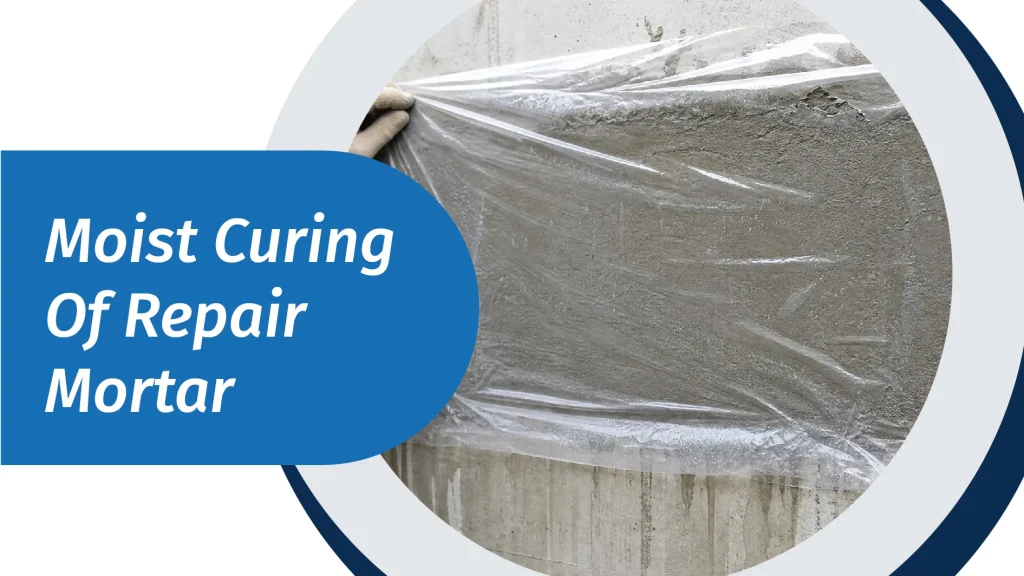
Curing is essential because cement needs moisture to develop strength.
The worker should protect the repair from direct sunlight, strong wind, rain, vibration, freezing, and rapid temperature changes. Plastic film, wet fabric, or another approved curing method can help retain moisture.
Conventional cement mortar should usually receive moist curing for at least seven days. The exact period depends on cement type, repair material, temperature, humidity, and project requirements.
During hot weather, the worker may need to wet the curing cover several times each day. Three or four wetting cycles may be necessary when evaporation is high.
During cold weather, the team should protect the repair from freezing. Frozen fresh mortar may not develop the required strength even after it thaws.
A packaged rapid-repair mortar may have different curing instructions. The team should always follow the product data sheet.
Step 11: Inspect The Finished Repair
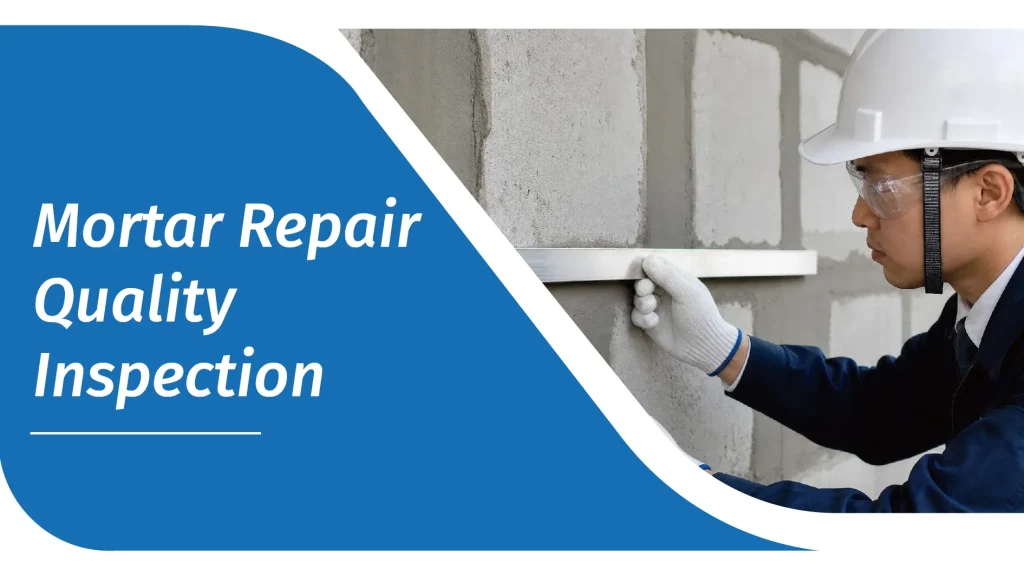
The repair team should inspect the area after curing.
The inspection should check:
- Cracks
- Hollow areas
- Delamination
- Uneven surface
- Weak edges
- Color difference
- Dusting
- Water leakage
- Incomplete filling
A worker can lightly tap the repaired area to identify hollow sections. A dense sound usually indicates better contact. A sharp or hollow sound may indicate a void.
Small non-structural cracks may be routed and repaired again. Large cracks, recurring cracks, or cracks with movement need further investigation.
The team should also confirm adhesion and strength when the project specification requires formal testing.
Step 12: Clean, Record, And Protect The Site
The team should remove mortar residue, clean tools, and return unused materials to the correct storage area.
The team should record:
- Repair date
- Repair location
- Damage type
- Repair dimensions
- Materials and batch numbers
- Water dosage
- Weather conditions
- Application method
- Problems found
- Corrective actions
- Inspection result
These records help with later maintenance and quality tracing.
Choosing Zhiwei HPMC Or HEMC For Repair Mortar
Zhiwei (Jinan) New Materials Co., Ltd. supplies HPMC and HEMC grades for cement-based construction materials.
Zhiwei HPMC 100K is a high-viscosity grade for systems that need stronger water retention, open time, anti-sag support, and vertical stability. Its listed applications include EIFS and repair mortar. Its NDJ viscosity is 90,000-120,000 mPa·s in a 2% solution at 20°C.
Zhiwei also offers HEMC 100H, HEMC 150H, and HEMC 200H. These grades can be screened according to the required viscosity and wet mortar body.
| Repair Mortar Target | Grade Direction To Test |
|---|---|
| General patching and leveling | HEMC 100H or HPMC 100K |
| Stronger vertical hold | HEMC 150H or HPMC 100K |
| High-build mortar screening | HEMC 150H or HEMC 200H |
| Longer open time | Compare HEMC 100H and HEMC 150H |
| EIFS and wall repair | HPMC 100K or HEMC 100H |
| Smoother, lower-body repair mix | Compare HEMC 60K with higher grades |
The formulator should confirm the grade through a laboratory test. The test should cover water retention, consistency, open time, sag resistance, wet adhesion, compressive strength, shrinkage, and crack resistance.
Common Mortar Repair Mistakes
Applying Mortar Over Dust
Dust prevents direct contact between the new mortar and the substrate. The patch may separate even when the mortar itself has good strength.
Leaving Weak Edges
A strong patch cannot remain bonded to loose surrounding material. The worker must extend removal to sound substrate.
Adding Too Much Water
Excess water makes application easier for a short time, but it increases shrinkage and reduces strength.
Applying One Thick Layer
A thick conventional mortar layer can sag, trap air, and crack. Layered placement gives better control.
Ignoring Curing
A good repair mix can still fail when it dries too quickly. Curing is part of construction, not an optional final step.
Using The Wrong Cellulose Ether Dosage
Too little cellulose ether may give poor water retention and short open time. Too much can make mortar sticky, delay drying, increase air content, or affect strength. A small test series should confirm the dosage.
Safety And Environmental Control
Workers should wear gloves, eye protection, protective clothing, and dust masks when handling dry cement and additives. Workers at height must use approved scaffolding, guardrails, and fall protection.
Electrical mixers must have safe cables and grounding. The team should keep electrical equipment away from standing water.
The team should control dust during removal and dry mixing. The team should collect mortar waste instead of washing it into drains or soil.
The contractor should also control noise when work takes place near homes, offices, schools, or hospitals.
Frequently Asked Questions
What Is A Common Cement-To-Sand Ratio For Mortar Repair?
A 1:3 cement-to-sand ratio is a common starting point for some wall repairs. The final ratio should match the substrate, depth, strength target, and exposure.
Should The Surface Be Wet Before Mortar Repair?
The surface should normally be damp but free from standing water. A dry surface can remove water from fresh mortar too quickly.
How Thick Should Each Repair Layer Be?
A conventional mortar layer is often kept around 5-10 mm. Packaged high-build repair products may allow greater thickness.
How Long Should Repair Mortar Cure?
Conventional cement mortar should usually receive at least seven days of curing. Rapid-repair products may use a different schedule.
Why Does New Repair Mortar Become Hollow?
Hollow areas can result from dust, standing water, weak substrate, poor compaction, trapped air, excessive layer thickness, or rapid drying.
What Does HPMC Or HEMC Do In Repair Mortar?
HPMC and HEMC help retain water, improve troweling, extend open time, stabilize fresh mortar, and support vertical hold.
Conclusion
A durable mortar repair starts with proper diagnosis and substrate preparation. The worker must remove all weak material, roughen and clean the surface, pre-wet without leaving standing water, and prepare a controlled mortar mix.
The worker should apply mortar from the edges toward the center. The worker should compact the material in layers, level the surface, and protect the repair during curing. The team should inspect the finished work for cracks, voids, and poor adhesion.
Cellulose ethers can make repair mortar easier and more reliable to apply. Zhiwei HPMC 100K and suitable HEMC grades can support water retention, open time, workability, and vertical stability. The final product grade and dosage should always be confirmed with the actual cement, aggregate, polymer, water ratio, and site conditions.